Transform Boring Footage into Jaw-Dropping Masterpieces with these Editing
Transform Boring Footage into Jaw-Dropping Masterpieces with these Editing Hacks!
In the world of video production, capturing stunning footage is only the first step towards creating a captivating masterpiece. The true magic lies in the art of editing, where dull and uninspiring footage can be transformed into jaw-dropping visual experiences. Whether you’re an aspiring filmmaker, a content creator, or simply someone looking to enhance your video projects, mastering the art of editing is essential. This article will delve into various editing hacks and techniques that can help you take your footage from ordinary to extraordinary. From colour grading and storytelling to sound editing and special effects, get ready to unlock the full potential of your videos and leave your audience in awe.
1. Introduction: The power of editing in transforming footage
Understanding the impact of editing
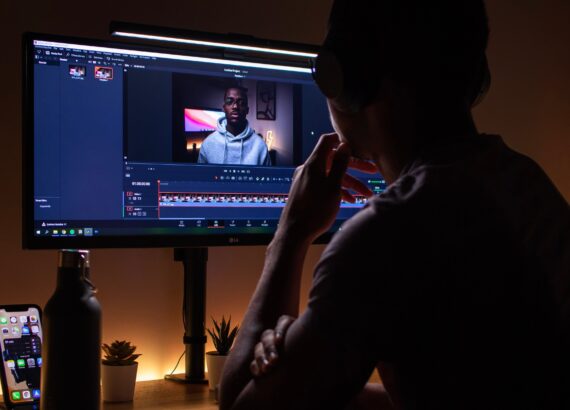
Lights, camera, action! We’ve all been there, capturing footage of our latest adventures or creative projects, only to find that the result lacks that “wow” factor. But fear not, my friends, for the power of editing can transform even the most lacklustre footage into jaw-dropping masterpieces. Editing is the secret ingredient that can take your videos from “meh” to magnificent, elevating the visual impact and captivating your audience. So, buckle up and get ready to unleash your creative genius with these editing hacks!
2. Understanding the basics of video editing software
Choosing the right video editing software
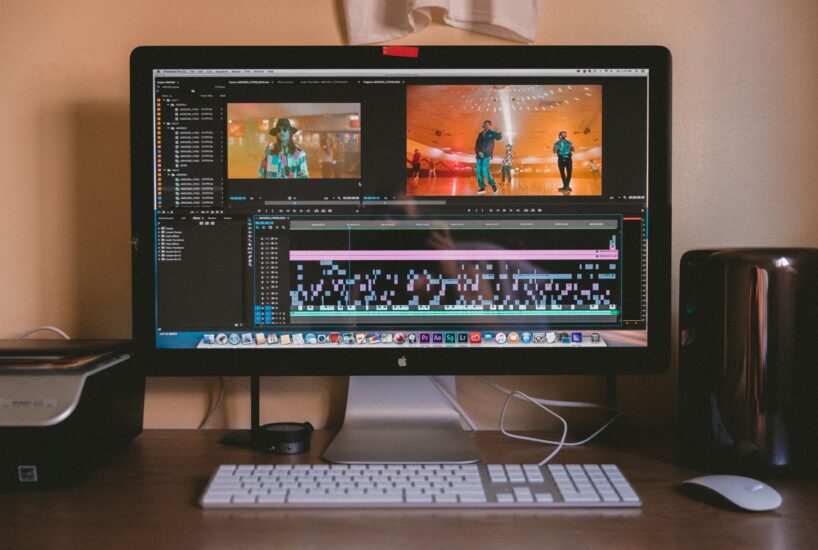
Before we dive into the nitty-gritty of editing, let’s first ensure you have the right tools for the job. Choosing the right video editing software is like finding the perfect matching sock for your favourite pair of shoes – it just makes everything better. Whether you’re a Mac lover or a PC aficionado, there are plenty of options out there to suit your needs, from beginner-friendly programs to professional-grade software.
Once you’ve got your hands on the perfect editing software, it’s time to get cosy with the interface. Don’t worry if it seems overwhelming at first, like navigating a maze of buttons and menus. Take a deep breath, my friend, and embrace the learning curve. Soon enough, you’ll be flying through the interface like a video editing wizard, effortlessly transforming your footage into works of art.
Now that you’re feeling a bit more comfortable, let’s dive into the exciting task of importing and organizing your footage. Think of it like Marie Kondo for your videos – tidy up those clips, create folders, and make sure everything is neatly arranged. Organization is the key to a smooth editing process, saving you time and preventing that dreaded feeling of getting lost in a sea of files.

3. Enhancing visual impact: Creative techniques for colour grading
Exploring color grading fundamentals
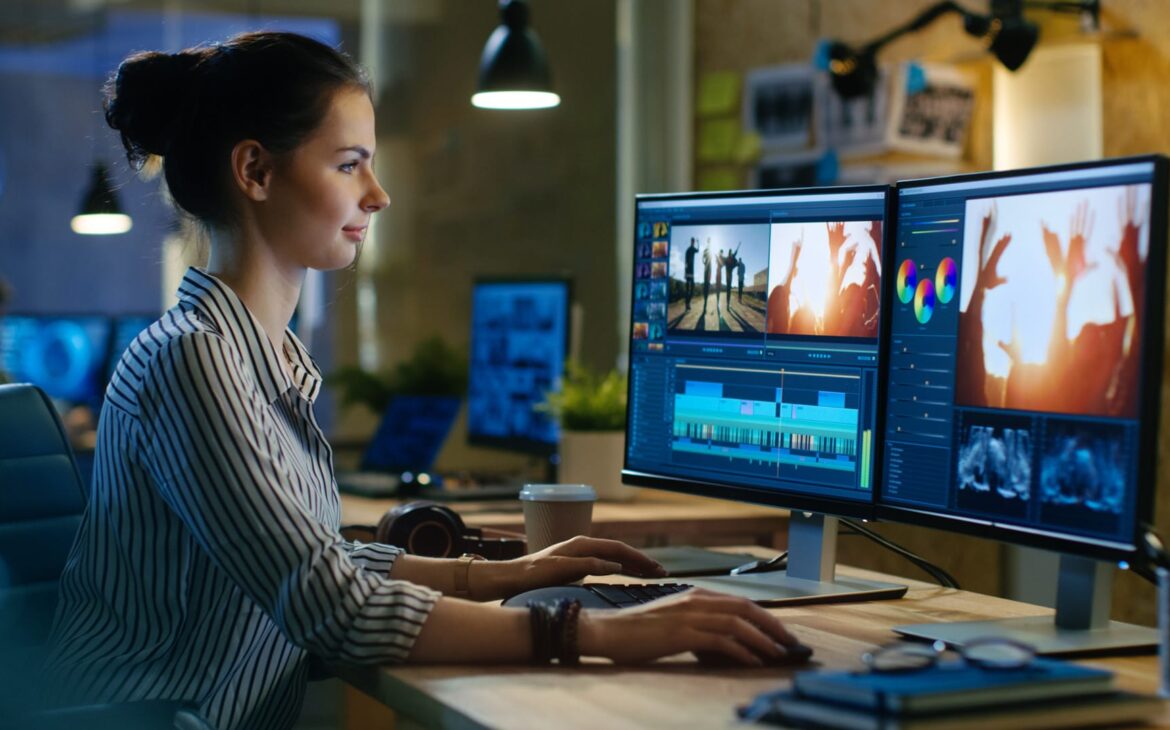
Now that you’ve laid the groundwork, it’s time to unleash your inner Picasso and enhance the visual impact of your footage with the magic of colour grading. Color grading is like adding a filter to your video, but on steroids. It’s the secret sauce that can completely change the mood and tone, turning a gloomy day into a sunny paradise or giving your footage a cinematic touch.
To start, let’s explore the colour grading fundamentals. Think of colours as your storytelling sidekicks, each with a unique ability to evoke emotions and set the scene. Warm tones can create a cosy and inviting atmosphere, while cool tones can give a sense of calmness or mystery. Experiment with different colour combinations and find the perfect palette that suits the mood and message you want to convey.
For those who want a quick fix without diving deep into the world of colour theory, fear not – colour grading presets are here to save the day. These magical pre-made settings can instantly transform your footage with just a click. It’s like having a team of talented colourists at your disposal, ready to work their magic on your videos.
Lastly, don’t forget to play around with exposure and contrast. These nifty tools can help you balance the lighting, making sure your subject shines and the background doesn’t steal the show. Add a touch of contrast to make those colours pop, or adjust the exposure to bring out the details in those darker corners. Remember, a little tweak can go a long way in creating jaw-dropping visuals.
4. Crafting engaging narratives: Editing for storytelling
Understanding the importance of storyboarding
Now that your footage is looking stunning, it’s time to take it to the next level by crafting engaging narratives through the art of editing. Think of yourself as a modern-day storyteller, weaving together a compelling tale that keeps your audience on the edge of their seats.
First things first, let’s talk storyboarding. This handy technique involves sketching out your video’s flow with rough drawings or even stick figures (because who doesn’t love stick figures?). It helps you visualize the sequence of shots, ensuring that your story unfolds smoothly without any missing puzzle pieces. Consider it your roadmap to storytelling success.
Once you’ve got your storyboard in hand (or on paper), it’s time to start sequencing your shots. Just like a master chef creating a mouth-watering dish, you need to arrange your shots in a way that keeps your viewers engaged and hungry for more. Experiment with different orders, pacing, and shot lengths to find the perfect recipe for your video.
But wait, there’s more! Transitions are your secret weapon for enhancing continuity and keeping your audience in a state of perpetual amazement. Whether it’s a simple cut, a smooth dissolve, or a jaw-dropping special effect, transitions help your shots flow seamlessly from one to another. Just be careful not to go overboard with those flashy transitions – we don’t want your video to resemble a fireworks show gone wild.
And there you have it, my friends! Armed with these editing hacks, you’re now ready to transform your boring footage into jaw-dropping masterpieces. So go forth, unleash your creativity, and let your edited videos shine brighter than the Hollywood stars. Happy editing!
Get up to 70% Discount on Amazon Electronic Products

5. Captivating your audience: Sound editing and mixing
Importance of good audio quality
Let’s face it, bad audio can ruin even the most visually stunning footage. Nobody wants to strain their ears or decipher muffled dialogue. So, when you’re editing, pay attention to your audio quality. Invest in a decent microphone, record in a quiet environment, and make sure your levels are in check.
Removing background noise
Noisy distractions can be the bane of your editing existence. But fear not! With the power of modern editing software, you can easily eliminate those pesky background noises. Use noise reduction tools to clean up your audio, ensuring that your audience can focus on the important sounds and not the rumbling of a passing garbage truck.
Adding and adjusting music
Ah, music—the magical ingredient that can elevate your footage from meh to marvellous. Choose the right soundtrack to complement the mood of your video and enhance the storytelling. Don’t forget to adjust the volume levels, so your audience can hear the dialogue without straining over blaring music. Balance is key here!
6. Advanced editing techniques: Adding special effects and visual enhancements
Integrating visual effects seamlessly
Well, it’s time to embrace the world of visual effects. From explosions to flying unicorns (because why not?), the possibilities are endless. Just remember, subtlety is often more effective than overwhelming your viewers with a CGI extravaganza. It’s all about finding that sweet spot between “Wow” and “What on earth am I watching?”
Creating stunning motion graphics
Motion graphics are like the sprinkles on a cupcake—they add that extra pizzazz. Use them to display titles, infographics, or even to animate your logo. With a bit of creativity and some handy plugins or software, you can bring static elements to life and make your video visually engaging.
Utilizing green screen and chroma keying
Ever wanted to be on a tropical beach without leaving your bedroom? Enter green screen and chroma keying. These nifty techniques allow you to replace the green (or blue) background with any video or image you desire. So go ahead, transport yourself anywhere, from the moon to a Jurassic Park adventure. Just remember to act convincingly to sell the illusion!
7. Streamlining your workflow: Time-saving editing hacks and shortcuts
Keyboard shortcuts for faster editing
Let’s be real—editing can be a time-consuming endeavour. But fear not, keyboard shortcuts are here to save the day! Take the time to learn the shortcuts specific to your editing software. Trust us, a few hours invested in mastering the keyboard can save you countless minutes in the long run. Your wrists and your looming deadlines will thank you.
Automating repetitive tasks
If you find yourself constantly doing the same task over and over again, it’s time to automate! Most editing software allows you to create presets or macros to expedite those monotonous tasks. Whether it’s applying a specific effect or adjusting colour grading, automate where you can and reclaim your precious editing time.
Using templates and presets
Why reinvent the wheel when you can borrow a well-oiled one? Templates and presets are your secret weapons for saving time and achieving professional-looking results. From transitions to colour grading, there are countless pre-made options out there. Just add your personal touch and voilà, you’ve got yourself a slick edit in half the time!
Get up to 70% Discount on Amazon Electronic Products
8. Final touches: Fine-tuning and exporting your masterpiece
Polishing transitions and effects
Smooth transitions and well-executed effects can make all the difference in the final cut. Take the time to fine-tune each transition, ensuring that they’re seamless and don’t distract from the story. And remember, less is often more. Subtle transitions can be just as effective (if not more) than flashy ones.
Adjusting audio levels for a balanced mix
Before you hit that export button, take a moment to balance your audio levels. Make sure your dialogue is clear and understandable, while still allowing room for music and any other sound effects. A well-balanced audio mix can make your video truly shine.
Exporting in the appropriate format and resolution
Oh, the joy of finishing your masterpiece! But wait, don’t let all your hard work go to waste with a subpar export. Be sure to choose the appropriate format and resolution for your intended audience and platform. Whether it’s YouTube, Instagram, or a film festival, a little extra effort in exporting can go a long way in showcasing your talent.
Conclusion
So there you have it, aspiring editing maestros! With these editing hacks, you’ll transform your boring footage into jaw-dropping masterpieces in no time. Remember to have fun, experiment, and let your creativity shine through. Happy editing!
By incorporating these editing hacks into your workflow, you have the power to turn any ordinary footage into jaw-dropping masterpieces. Remember to experiment with different techniques, unleash your creativity, and continuously refine your skills. With dedication and practice, you’ll soon become a proficient video editor, capable of captivating your audience and leaving a lasting impression. So go ahead, transform your boring footage into visual works of art and let your creativity shine. Happy editing!
FAQ
1. Can I achieve professional-looking edits with free video editing software?
Absolutely! While paid software often offers more advanced features, there are several free video editing software options available that can still help you achieve professional-looking edits. Look for software like DaVinci Resolve, HitFilm Express, or OpenShot, which offer a wide range of editing tools and effects without breaking the bank.
2. Do I need expensive equipment to create stunning videos?
No, you don’t need expensive equipment to create stunning videos. While high-quality cameras and equipment can certainly enhance the visual appeal, the editing process is where the magic happens. With proper editing techniques, you can elevate the quality of your footage, regardless of the equipment used. Focus on honing your editing skills, experimenting with different techniques, and maximizing the potential of the footage you have.
3. How can I speed up my editing workflow?
To speed up your editing workflow, there are a few strategies you can employ. Firstly, familiarize yourself with keyboard shortcuts for commonly used functions to save time navigating through menus. Additionally, organizing your files and creating a logical folder structure can help you locate footage and assets quickly. Utilizing templates presets, and automation features within your editing software can also streamline repetitive tasks, allowing you to work more efficiently.
4. What is the best way to learn video editing?
There are various ways to learn video editing, depending on your preferred learning style. Online tutorials and courses, such as those available on platforms like YouTube, Udemy, or Lynda, can provide comprehensive step-by-step guidance. Additionally, practising on your own by editing personal projects and experimenting with different techniques can help you gain hands-on experience and improve your skills over time.
Thank you for reading 🙂
If you want to build your website at an affordable price contact: www.nextr.in
Read this: How To Become A Web Developer?